
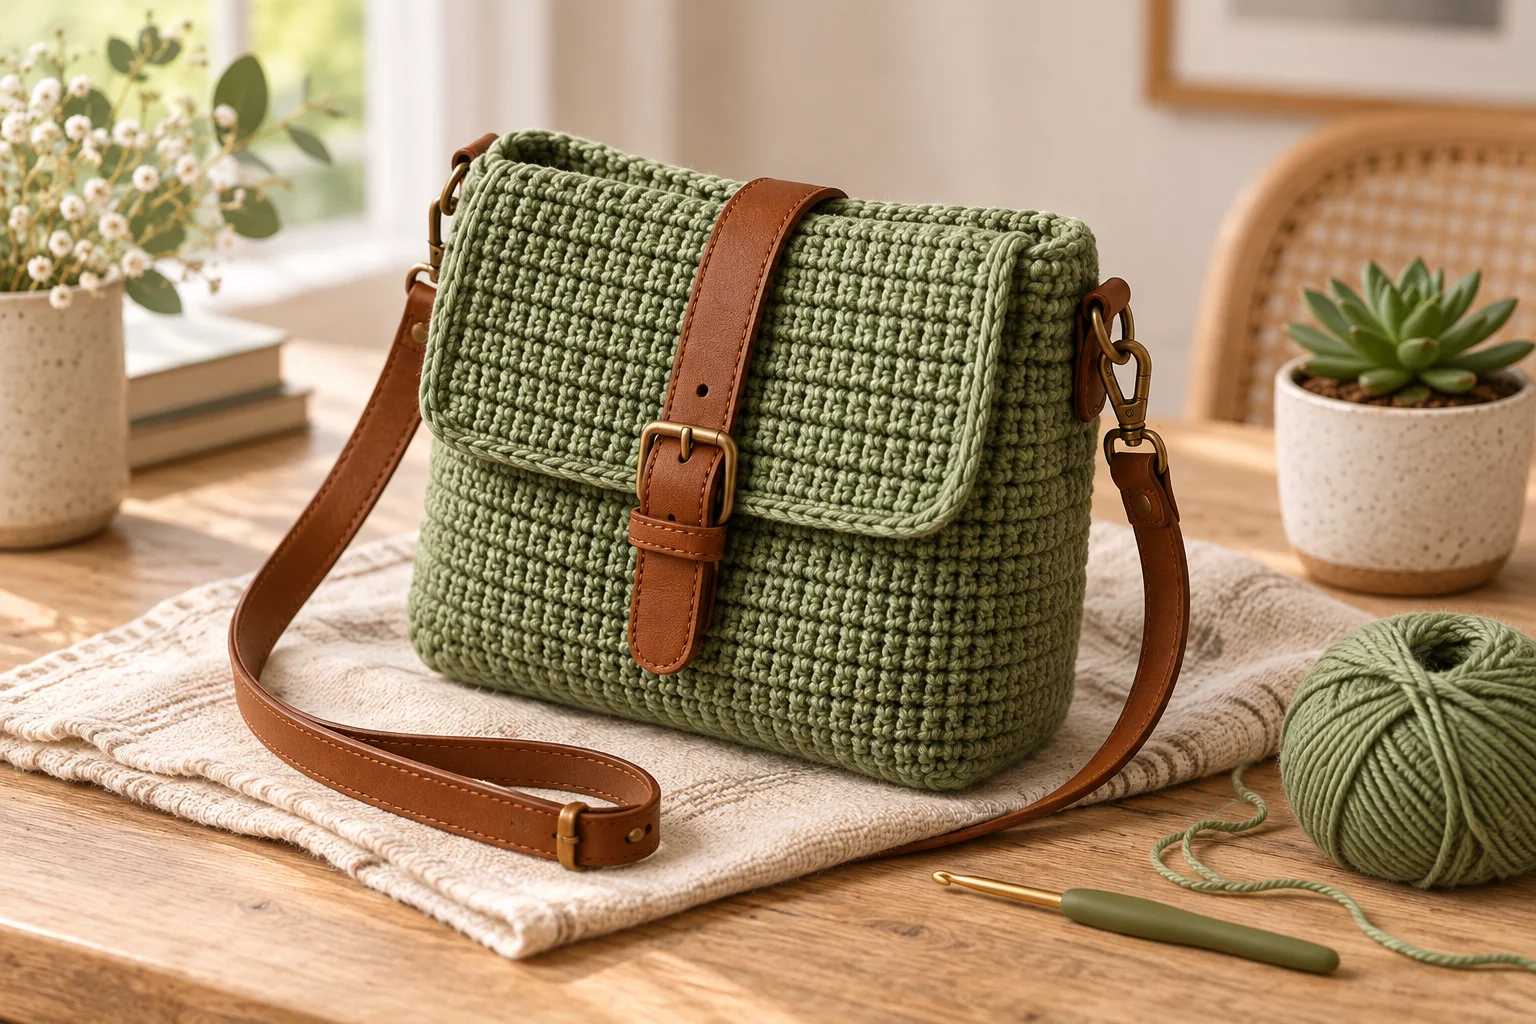
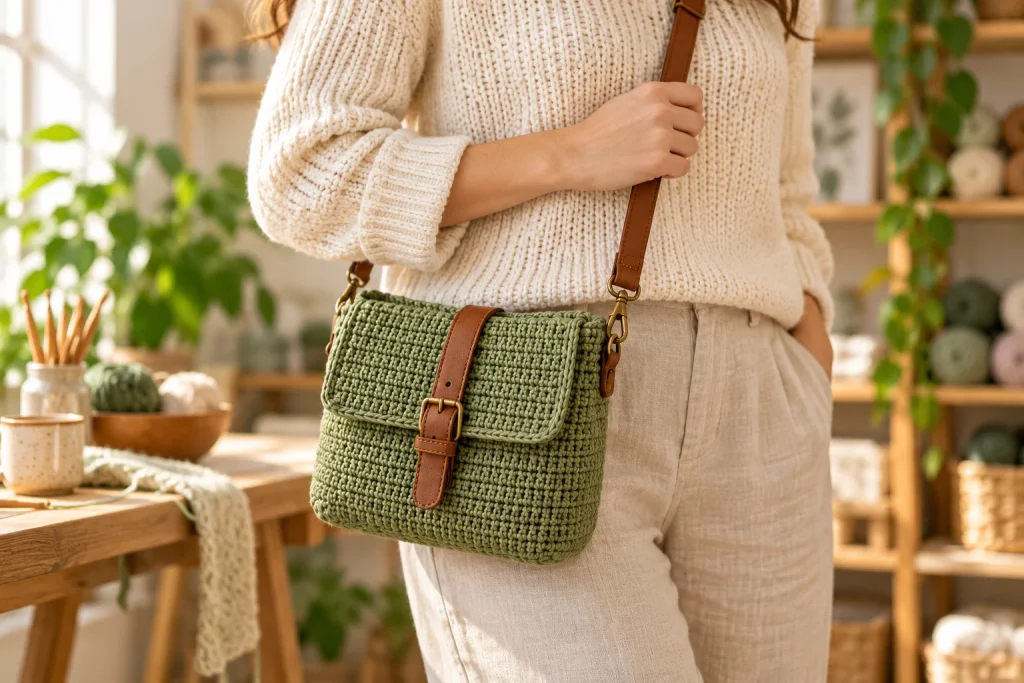
A handmade crochet shoulder bag is the kind of project that feels both creative and useful. This compact crossbody bag has a simple rectangular shape, a neat flap, and a classic leather-style strap. The dense crochet fabric helps the bag hold its shape, while the earthy sage green color makes it easy to wear throughout the year.
This free crochet shoulder bag pattern is suitable for confident beginners. It uses basic stitches, straightforward construction, and minimal shaping. You will crochet two main panels, join them to create the bag body, add a flap, and finish the design with a strap and buckle closure.
Finished Size
The finished bag measures approximately:
- 9 inches wide
- 7 inches tall
- 2½ inches deep
- 45–50-inch adjustable shoulder strap
You can easily make the bag larger or smaller by changing the number of starting chains and rows. Keep in mind that changing the size will also affect the amount of yarn required.
Skill Level
Easy / confident beginner
You should know how to make a chain, single crochet, slip stitch, work in rows, and crochet evenly around an edge.
Materials
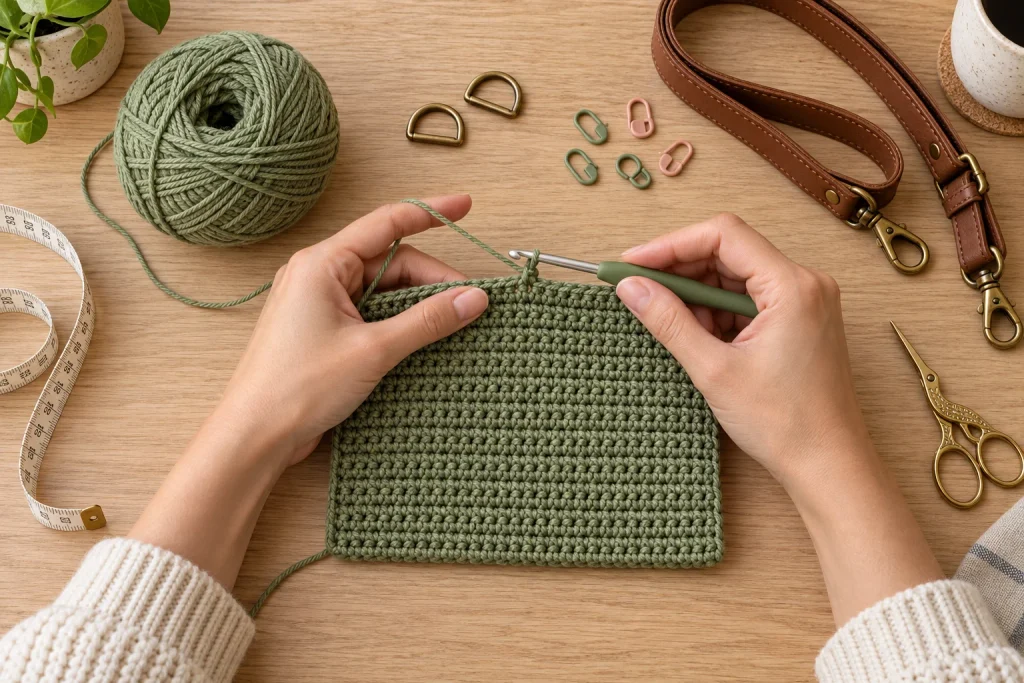
- 350–450 yards of worsted-weight cotton or cotton-blend yarn
- 4 mm (G-6) crochet hook
- Yarn needle
- Stitch markers
- Scissors
- Measuring tape
- Two metal D-rings, approximately 1 inch wide
- Adjustable leather or faux-leather shoulder strap
- Magnetic snap, buckle closure, or button
- Optional fabric lining
- Optional plastic canvas for extra structure
Cotton yarn is ideal because it creates a sturdy fabric with limited stretch. If you use acrylic yarn, consider adding a lining and interfacing so the bag keeps its shape.
Crochet Abbreviations
- ch: chain
- sc: single crochet
- sl st: slip stitch
- st(s): stitch(es)
- BLO: back loop only
- RS: right side
- WS: wrong side
This pattern uses US crochet terminology.
Gauge
Approximately 17 single crochet stitches and 19 rows equal 4 inches.
Gauge is not critical for this project, but a tight, firm fabric is important. If your stitches look loose or have large gaps, use a smaller hook. If the fabric feels too stiff to work comfortably, move up one hook size.
Pattern Notes
- Chain 1 at the beginning of a row does not count as a stitch.
- Turn your work after every row unless instructed otherwise.
- Place a stitch marker in the first and last stitch to help keep the sides straight.
- Crochet tightly enough that small items cannot easily slip through the fabric.
- The bag is constructed from a front panel, a back panel with an attached flap, a gusset, and two small strap tabs.
Step 1: Crochet the Front Panel
Using sage green yarn, chain 39.
Row 1: Single crochet in the second chain from the hook and in each chain across. You should have 38 stitches. Chain 1 and turn.
Rows 2–34: Single crochet in each stitch across. Chain 1 and turn.
After Row 34, the panel should measure approximately 9 inches wide and 7 inches tall. Add or remove rows if needed to reach the desired height. Fasten off and weave in the ends.
Step 2: Crochet the Back Panel and Flap
Chain 39.
Row 1: Single crochet in the second chain from the hook and in each chain across. Chain 1 and turn. You should have 38 stitches.
Rows 2–34: Single crochet in each stitch across. Chain 1 and turn.
Do not fasten off. Continue crocheting to create the flap.
Rows 35–51: Single crochet in each stitch across. Chain 1 and turn.
The flap should measure about 3½ inches from the top edge of the bag. For a longer flap, add two to four more rows.
Shape the Flap Corners
Row 52: Skip the first stitch, single crochet across to the final two stitches, and skip the last stitch. Chain 1 and turn. You should have 36 stitches.
Row 53: Single crochet in each stitch across. Chain 1 and turn.
Row 54: Repeat Row 52. You should have 34 stitches.
Fasten off and weave in the ends. These small decreases soften the corners and give the flap a polished shape.
Step 3: Add the Flap Edging
Join the yarn at one upper corner of the flap. Work single crochet evenly down the first side, across the bottom edge, and up the opposite side.
For a decorative finish, work the following along the bottom edge:
Scallop edging: Skip one stitch, work 5 double crochet stitches in the next stitch, skip one stitch, and slip stitch in the next stitch. Repeat across, adjusting the final repeat if necessary.
For a simpler modern look, use one row of reverse single crochet instead.
Step 4: Crochet the Gusset
The gusset forms the sides and bottom of the bag.
Chain 11.
Row 1: Single crochet in the second chain from the hook and across. You should have 10 stitches. Chain 1 and turn.
Continue working single crochet rows until the strip is long enough to travel down one side of the front panel, across the bottom, and up the other side. This will usually require about 86–92 rows, depending on your gauge.
Hold the gusset against the front panel as you work and stop when the ends reach the two upper corners. Fasten off, leaving a long tail for seaming.
Step 5: Assemble the Bag
Place the front panel and gusset with their right sides facing outward. Starting at one upper corner, use slip stitches or a yarn needle to join the gusset down the side, across the bottom, and up the opposite side.
Attach the back panel to the free edge of the gusset in the same way. Make sure the flap extends above the bag opening and folds naturally toward the front.
Keep your seam tension even. A tight seam helps the bag retain its rectangular shape, but pulling too firmly may cause the edges to ripple.
Step 6: Make the Strap Tabs
Make two identical tabs.
Chain 6.
Row 1: Single crochet in the second chain from the hook and across. Chain 1 and turn. You should have 5 stitches.
Rows 2–10: Single crochet across. Chain 1 and turn.
Fasten off, leaving a long sewing tail. Fold each tab around a D-ring and sew the ends securely to the upper sides of the bag. Reinforce each tab with several passes of yarn because these points will carry the weight of the bag.
Clip the adjustable strap onto the D-rings.
Step 7: Add the Closure
Position the buckle, magnetic snap, or button before sewing it permanently. Fold the flap over the front of the bag and mark the center.
For a leather-style buckle, sew the upper section securely to the flap and attach the lower section to the front panel. Use strong upholstery thread or waxed cord when sewing through faux leather.
For an all-crochet option, sew a button to the front and create a small chain loop at the center of the flap.
Optional Fabric Lining
A lining gives the bag a professional finish and prevents pens, hooks, or other small objects from poking through the stitches.
Cut two fabric rectangles about ½ inch wider and taller than the interior of the bag. Place the fabric pieces with right sides together. Sew along both sides and the bottom, leaving the top open. Fold the top edge toward the wrong side and press it flat.
Insert the lining into the bag. Hand-sew it around the inside opening using small stitches that do not show on the outside. Add a fabric pocket before installing the lining if desired.
Customization Ideas
- Use cream, terracotta, or mustard yarn for a warm autumn bag.
- Crochet the flap in a contrasting color.
- Add a tassel or yarn charm to one D-ring.
- Embroider small flowers on the front panel.
- Replace the leather strap with a crocheted strap.
- Add plastic canvas between the lining and crochet fabric for extra structure.
- Use a decorative vintage button instead of a buckle.
How to Crochet a Matching Strap
If you prefer not to use a purchased strap, chain enough stitches to reach your desired length. Starting in the second chain from the hook, single crochet across. Work three to five rows of single crochet, then fasten off.
For reduced stretching, slip stitch along both long edges or sew a strip of cotton webbing to the underside. Attach the finished strap directly to the D-rings.
Frequently Asked Questions
What yarn is best for a crochet shoulder bag?
Worsted-weight cotton yarn is one of the best choices because it is durable, washable, and less stretchy than many acrylic yarns. A cotton-acrylic blend can also work well.
Can a beginner make this bag?
Yes. The pattern mainly uses chains and single crochet stitches. The gusset and assembly require careful counting, but no advanced crochet techniques are necessary.
How do I stop my crochet bag from stretching?
Use cotton yarn, choose a smaller hook for a dense fabric, add a fabric lining, and reinforce the strap attachments. A non-stretch leather, faux-leather, or webbing strap also helps.
Can I make the bag without a gusset?
Yes. You can crochet two simple rectangles and seam them along three sides. The finished bag will be flatter and will hold less than the gusseted version.
Is the bag washable?
Check the yarn label and consider the hardware before washing. If the bag includes removable straps, detach them first. Hand-washing and air-drying are usually the safest options.
Final Thoughts
This crochet shoulder bag combines simple construction with a stylish, everyday shape. The dense single crochet fabric creates a clean surface, while the flap, hardware, and optional lining make the finished project look thoughtfully made. Choose a favorite color, personalize the closure, and create a bag that fits your wardrobe perfectly.
Save this pattern for your next crochet weekend and make a second bag as a handmade gift.